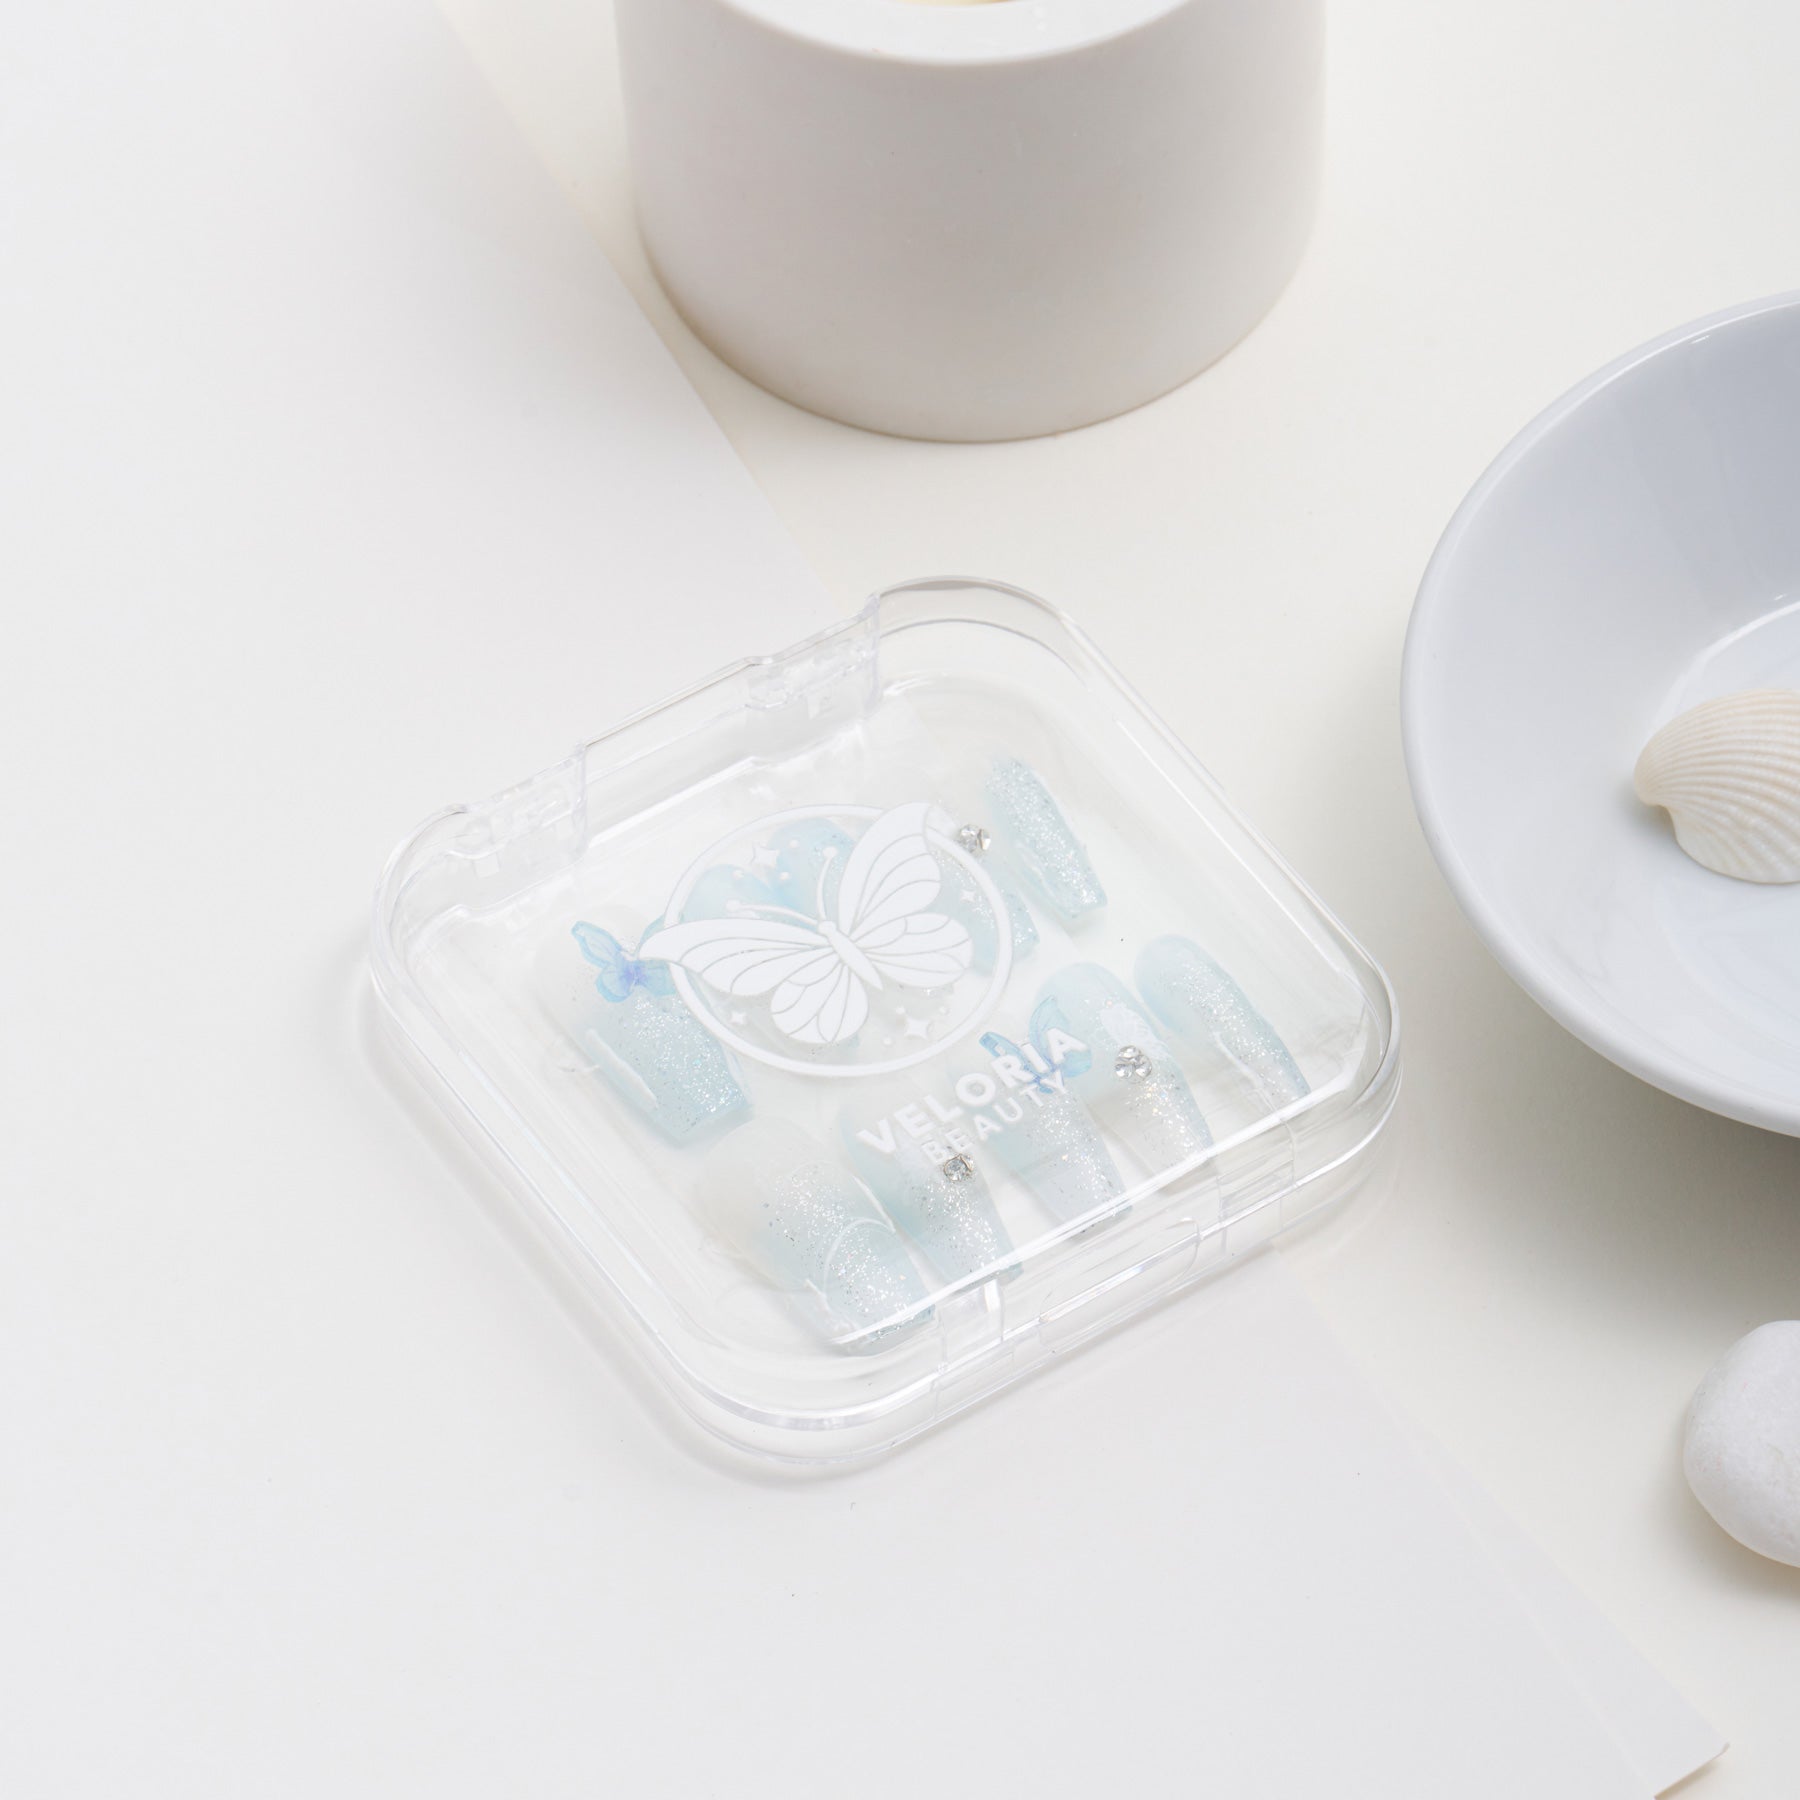
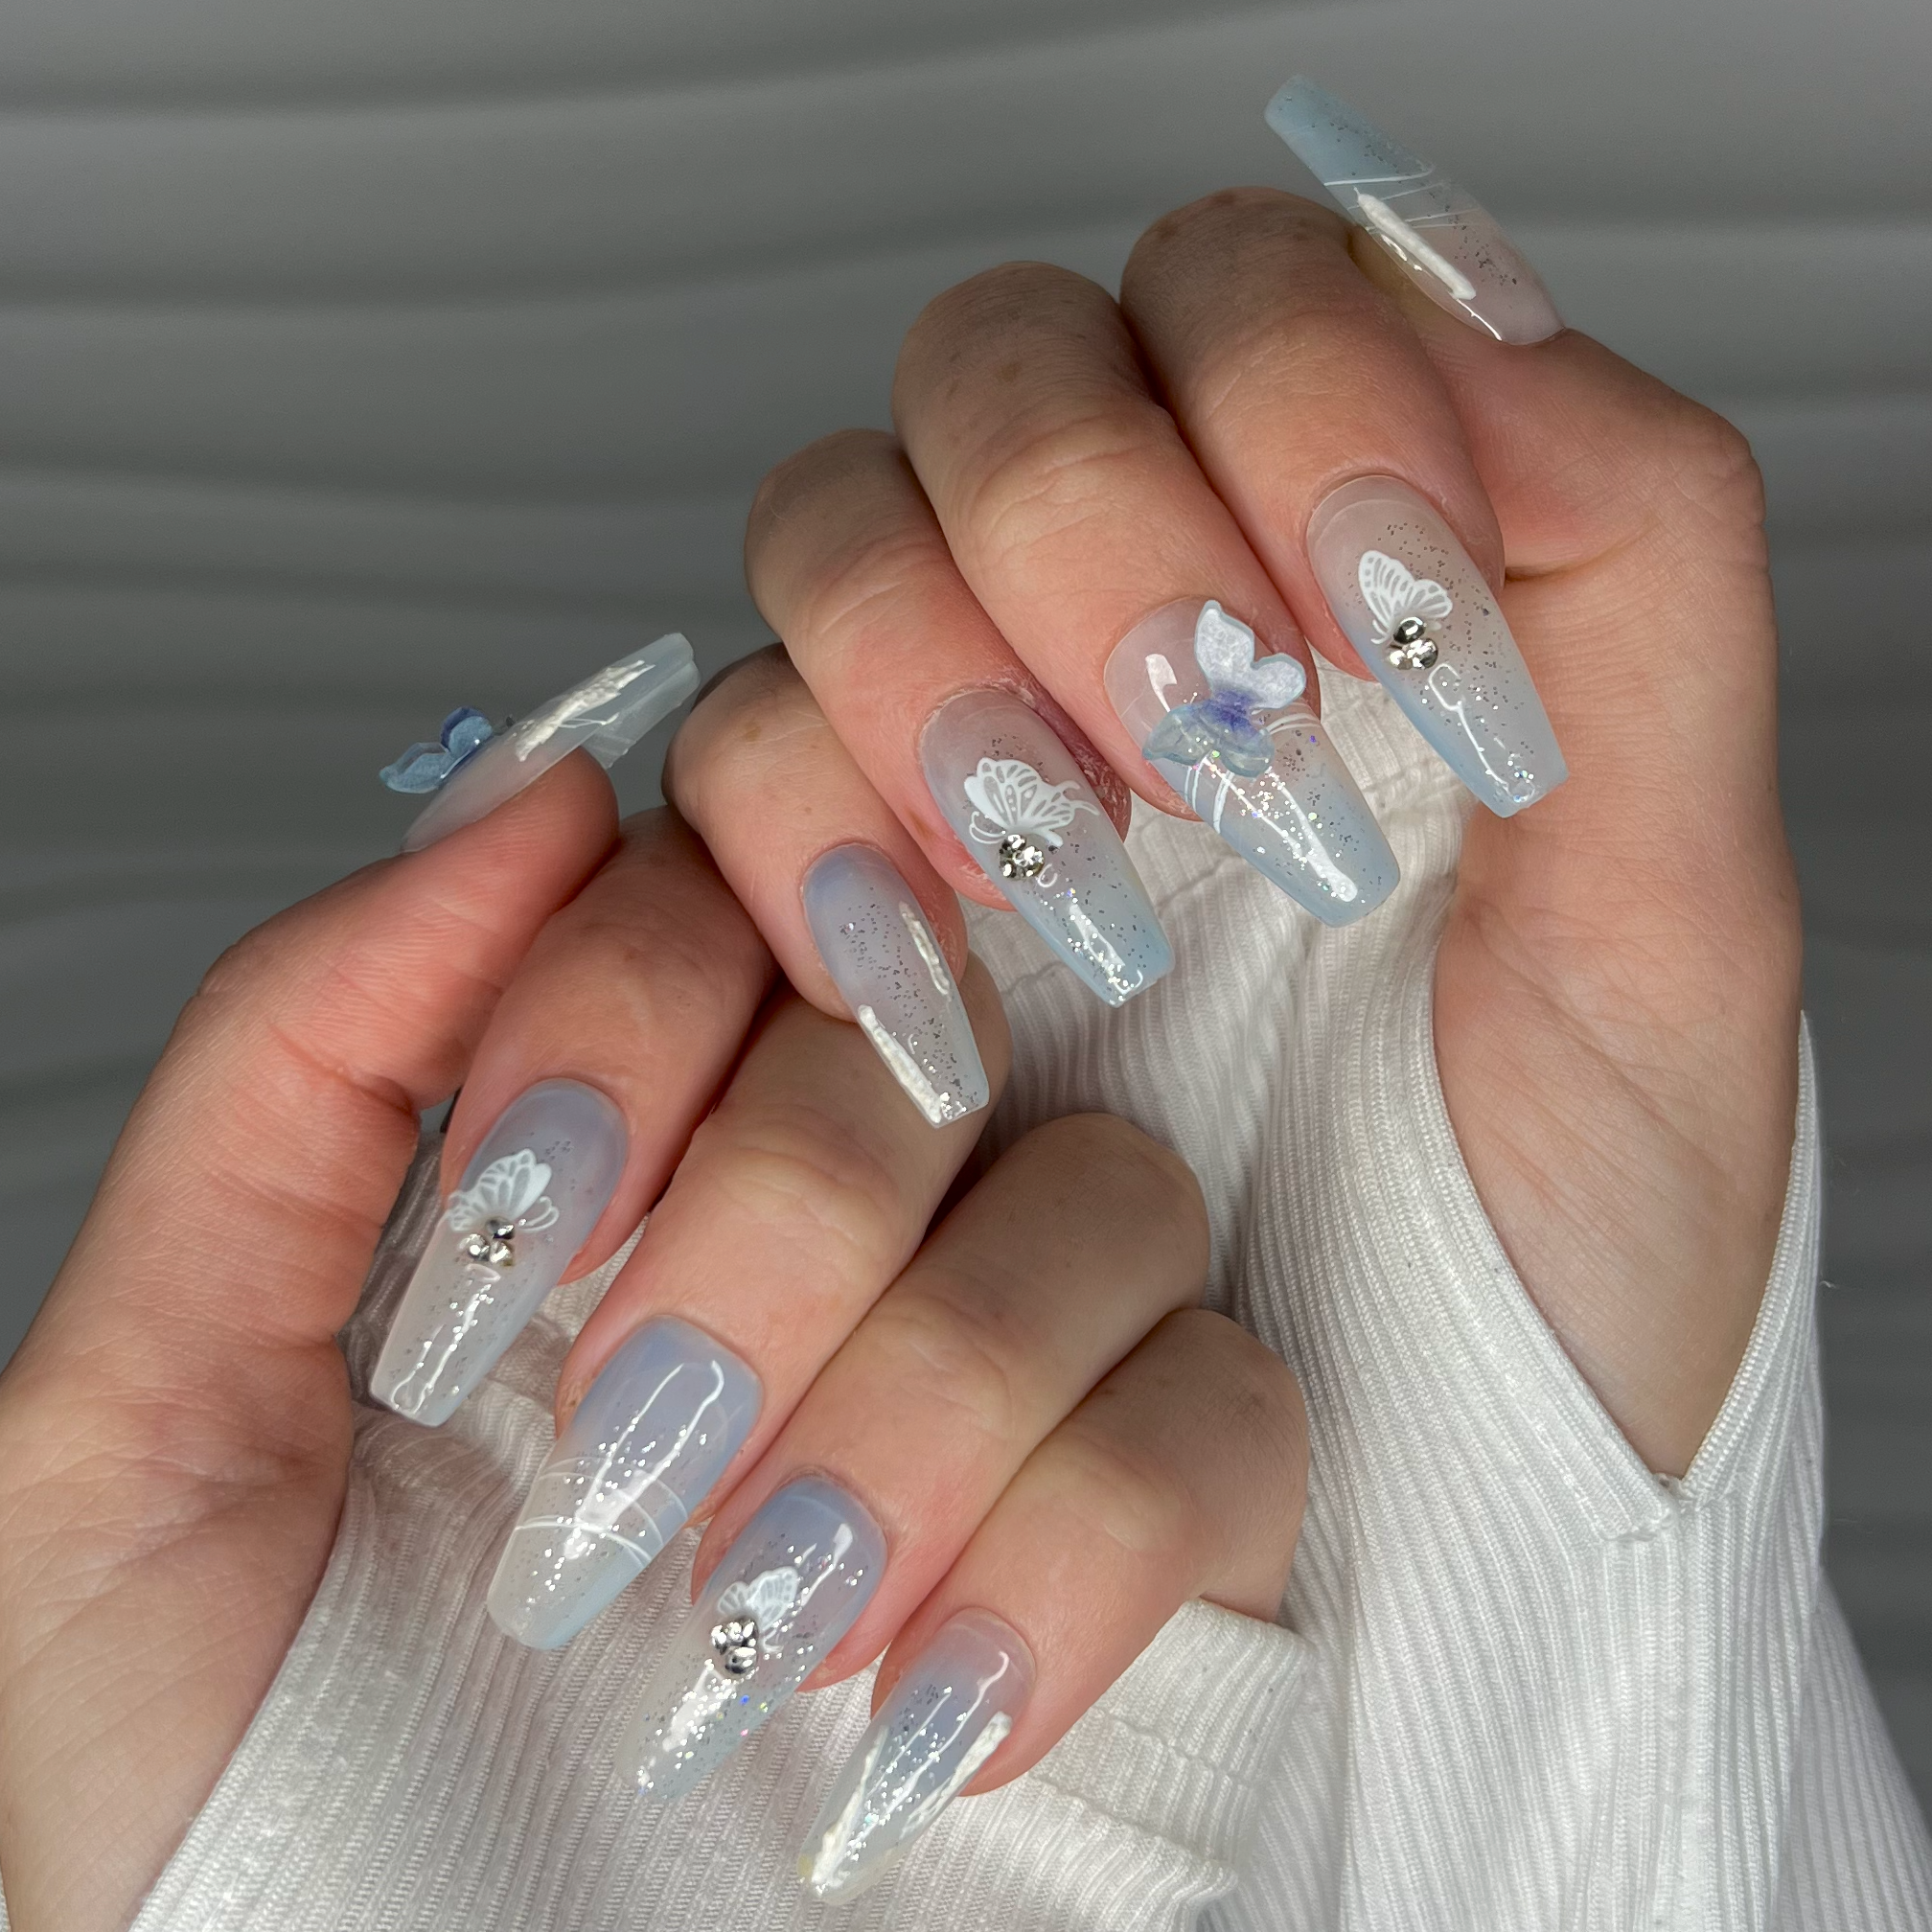
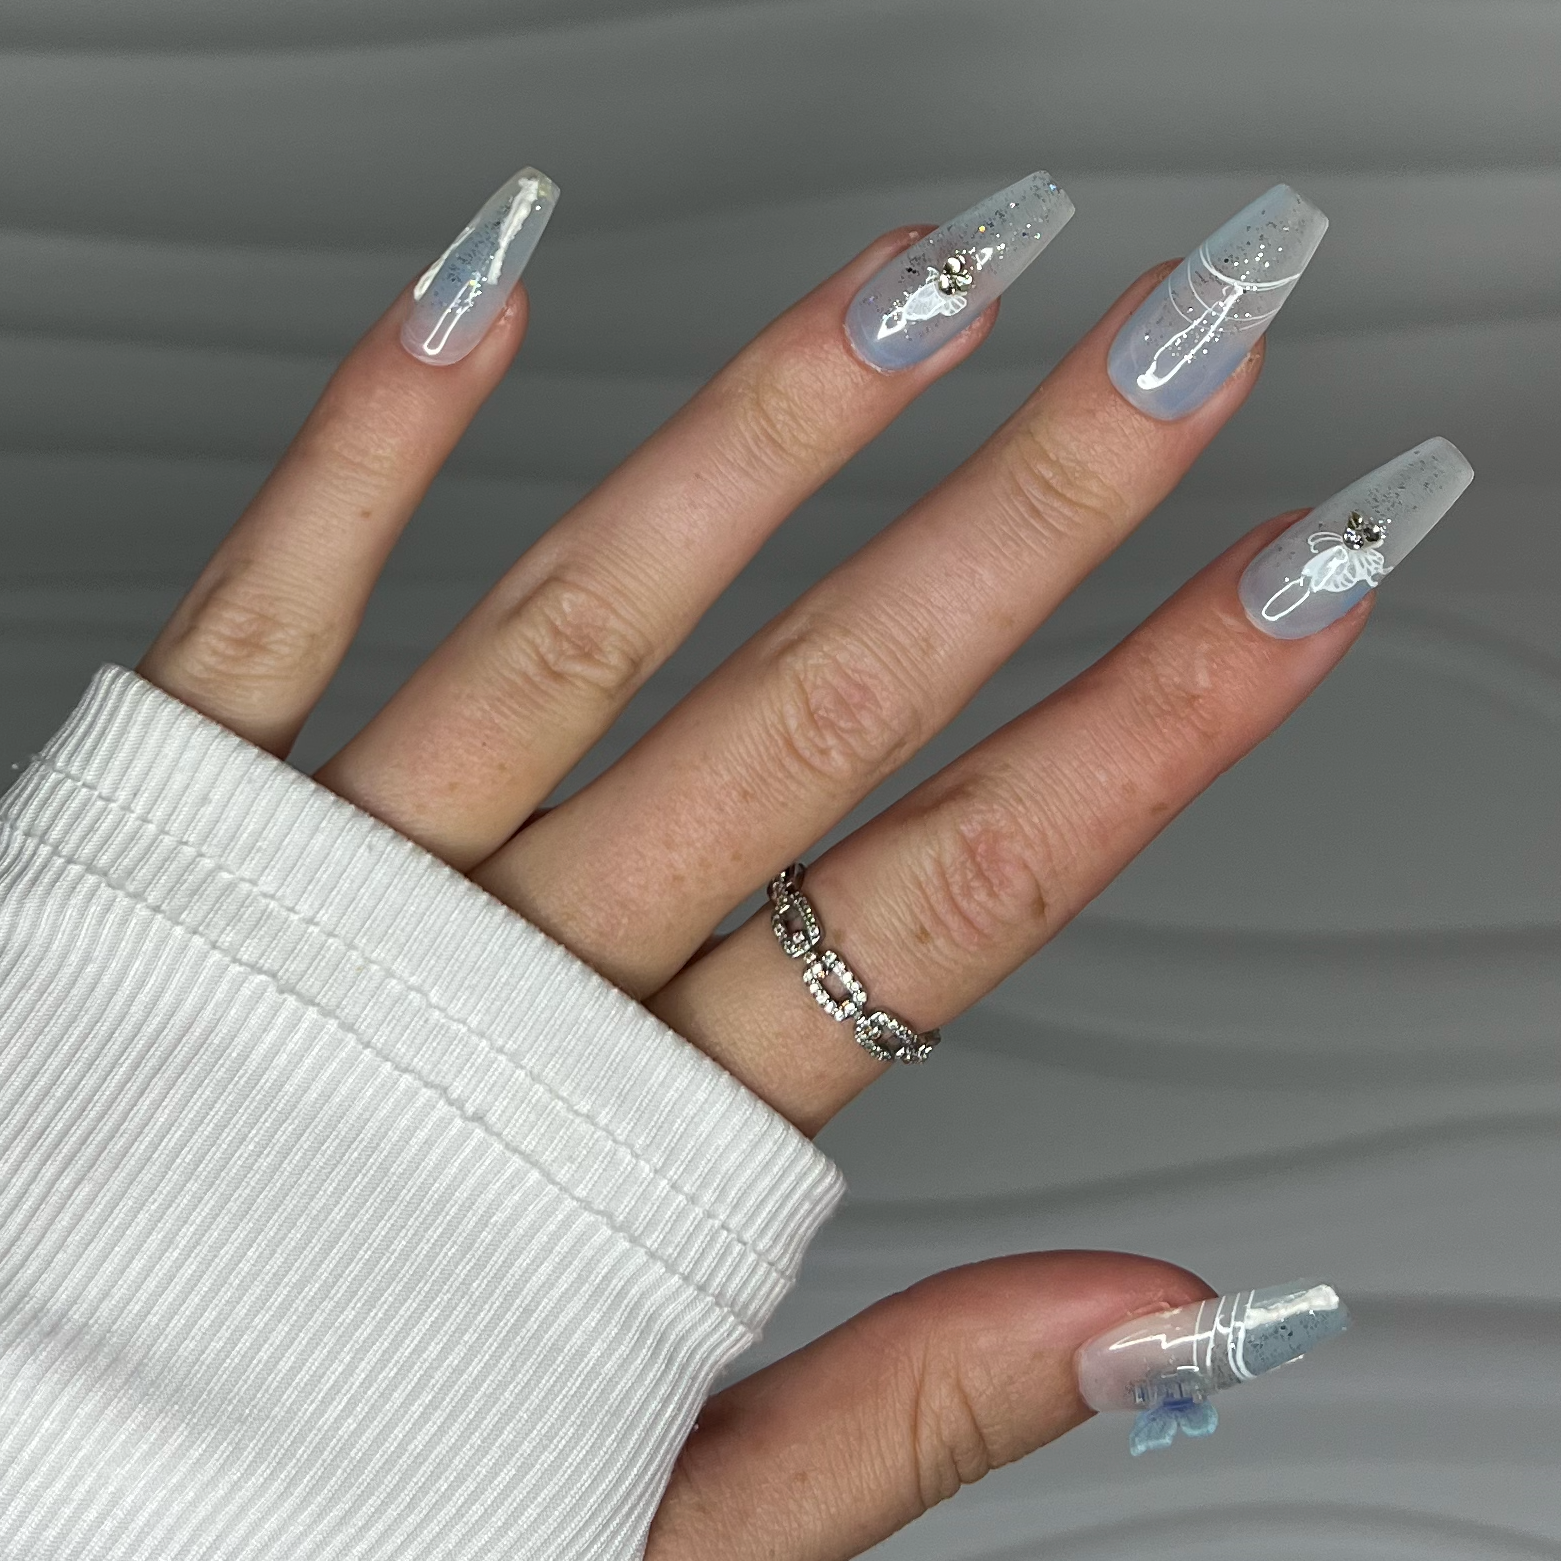
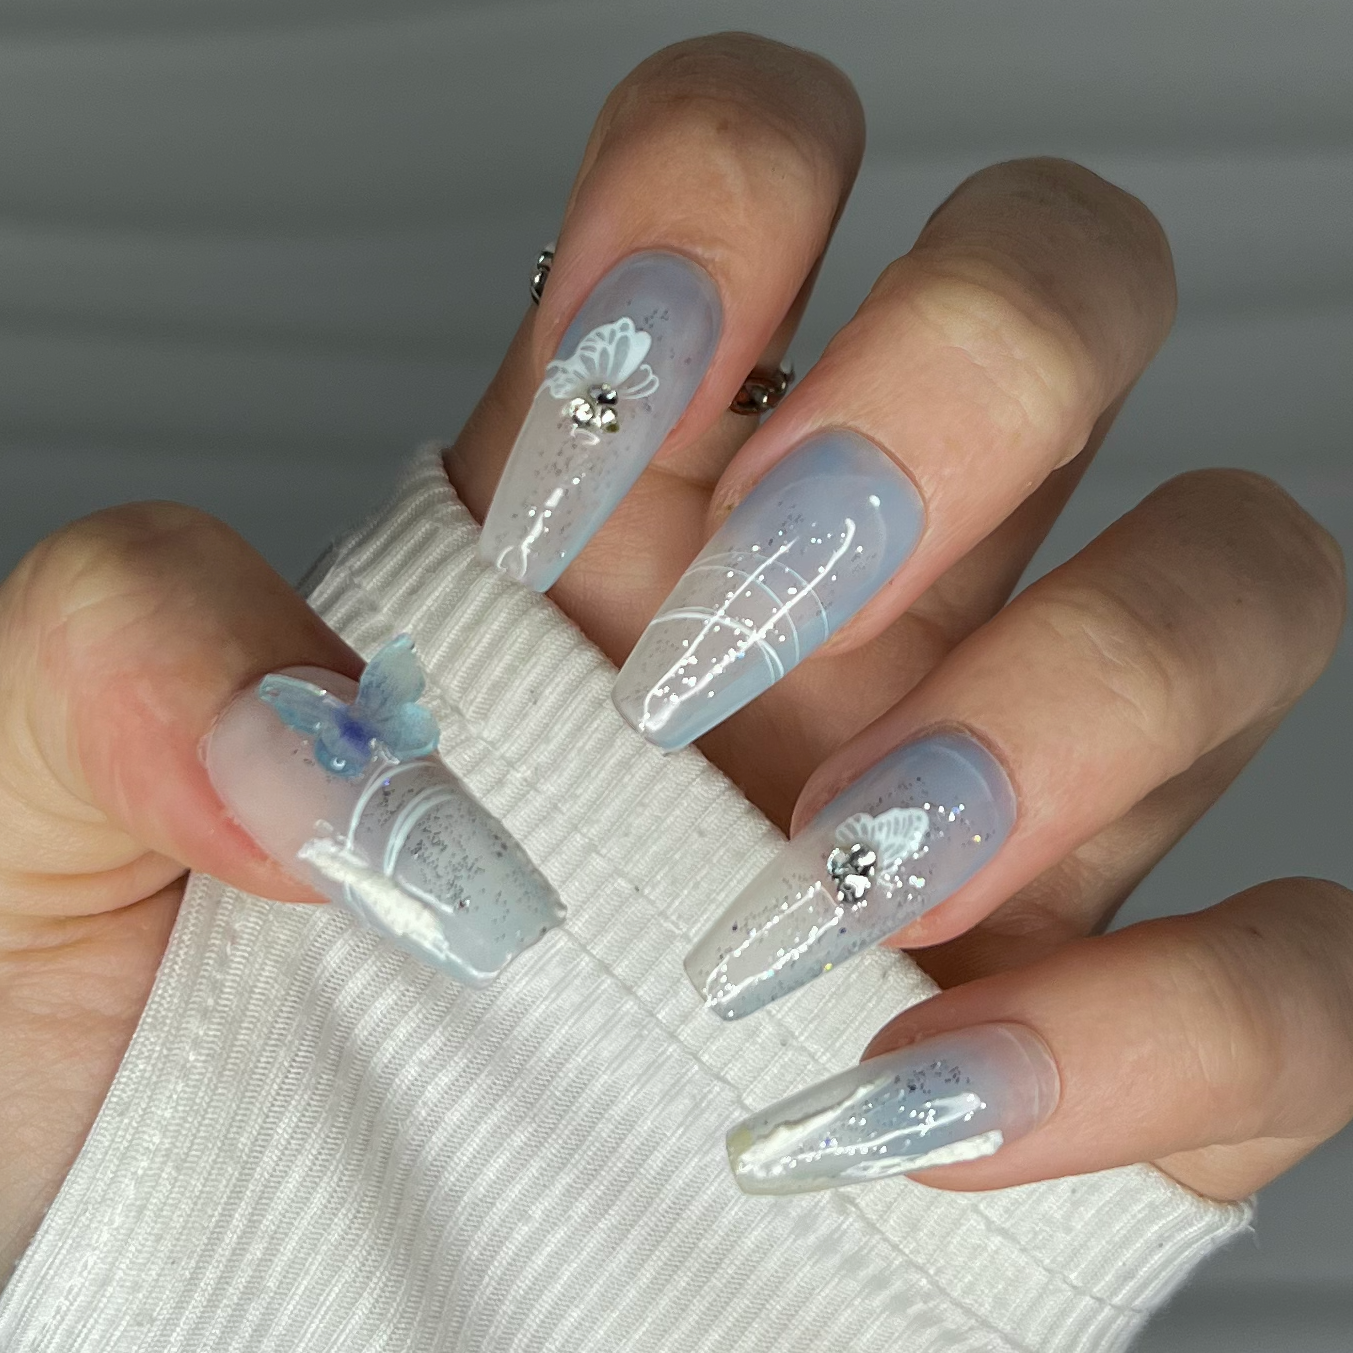
Azure Butterfly Elegance | Handmade Press On Nails
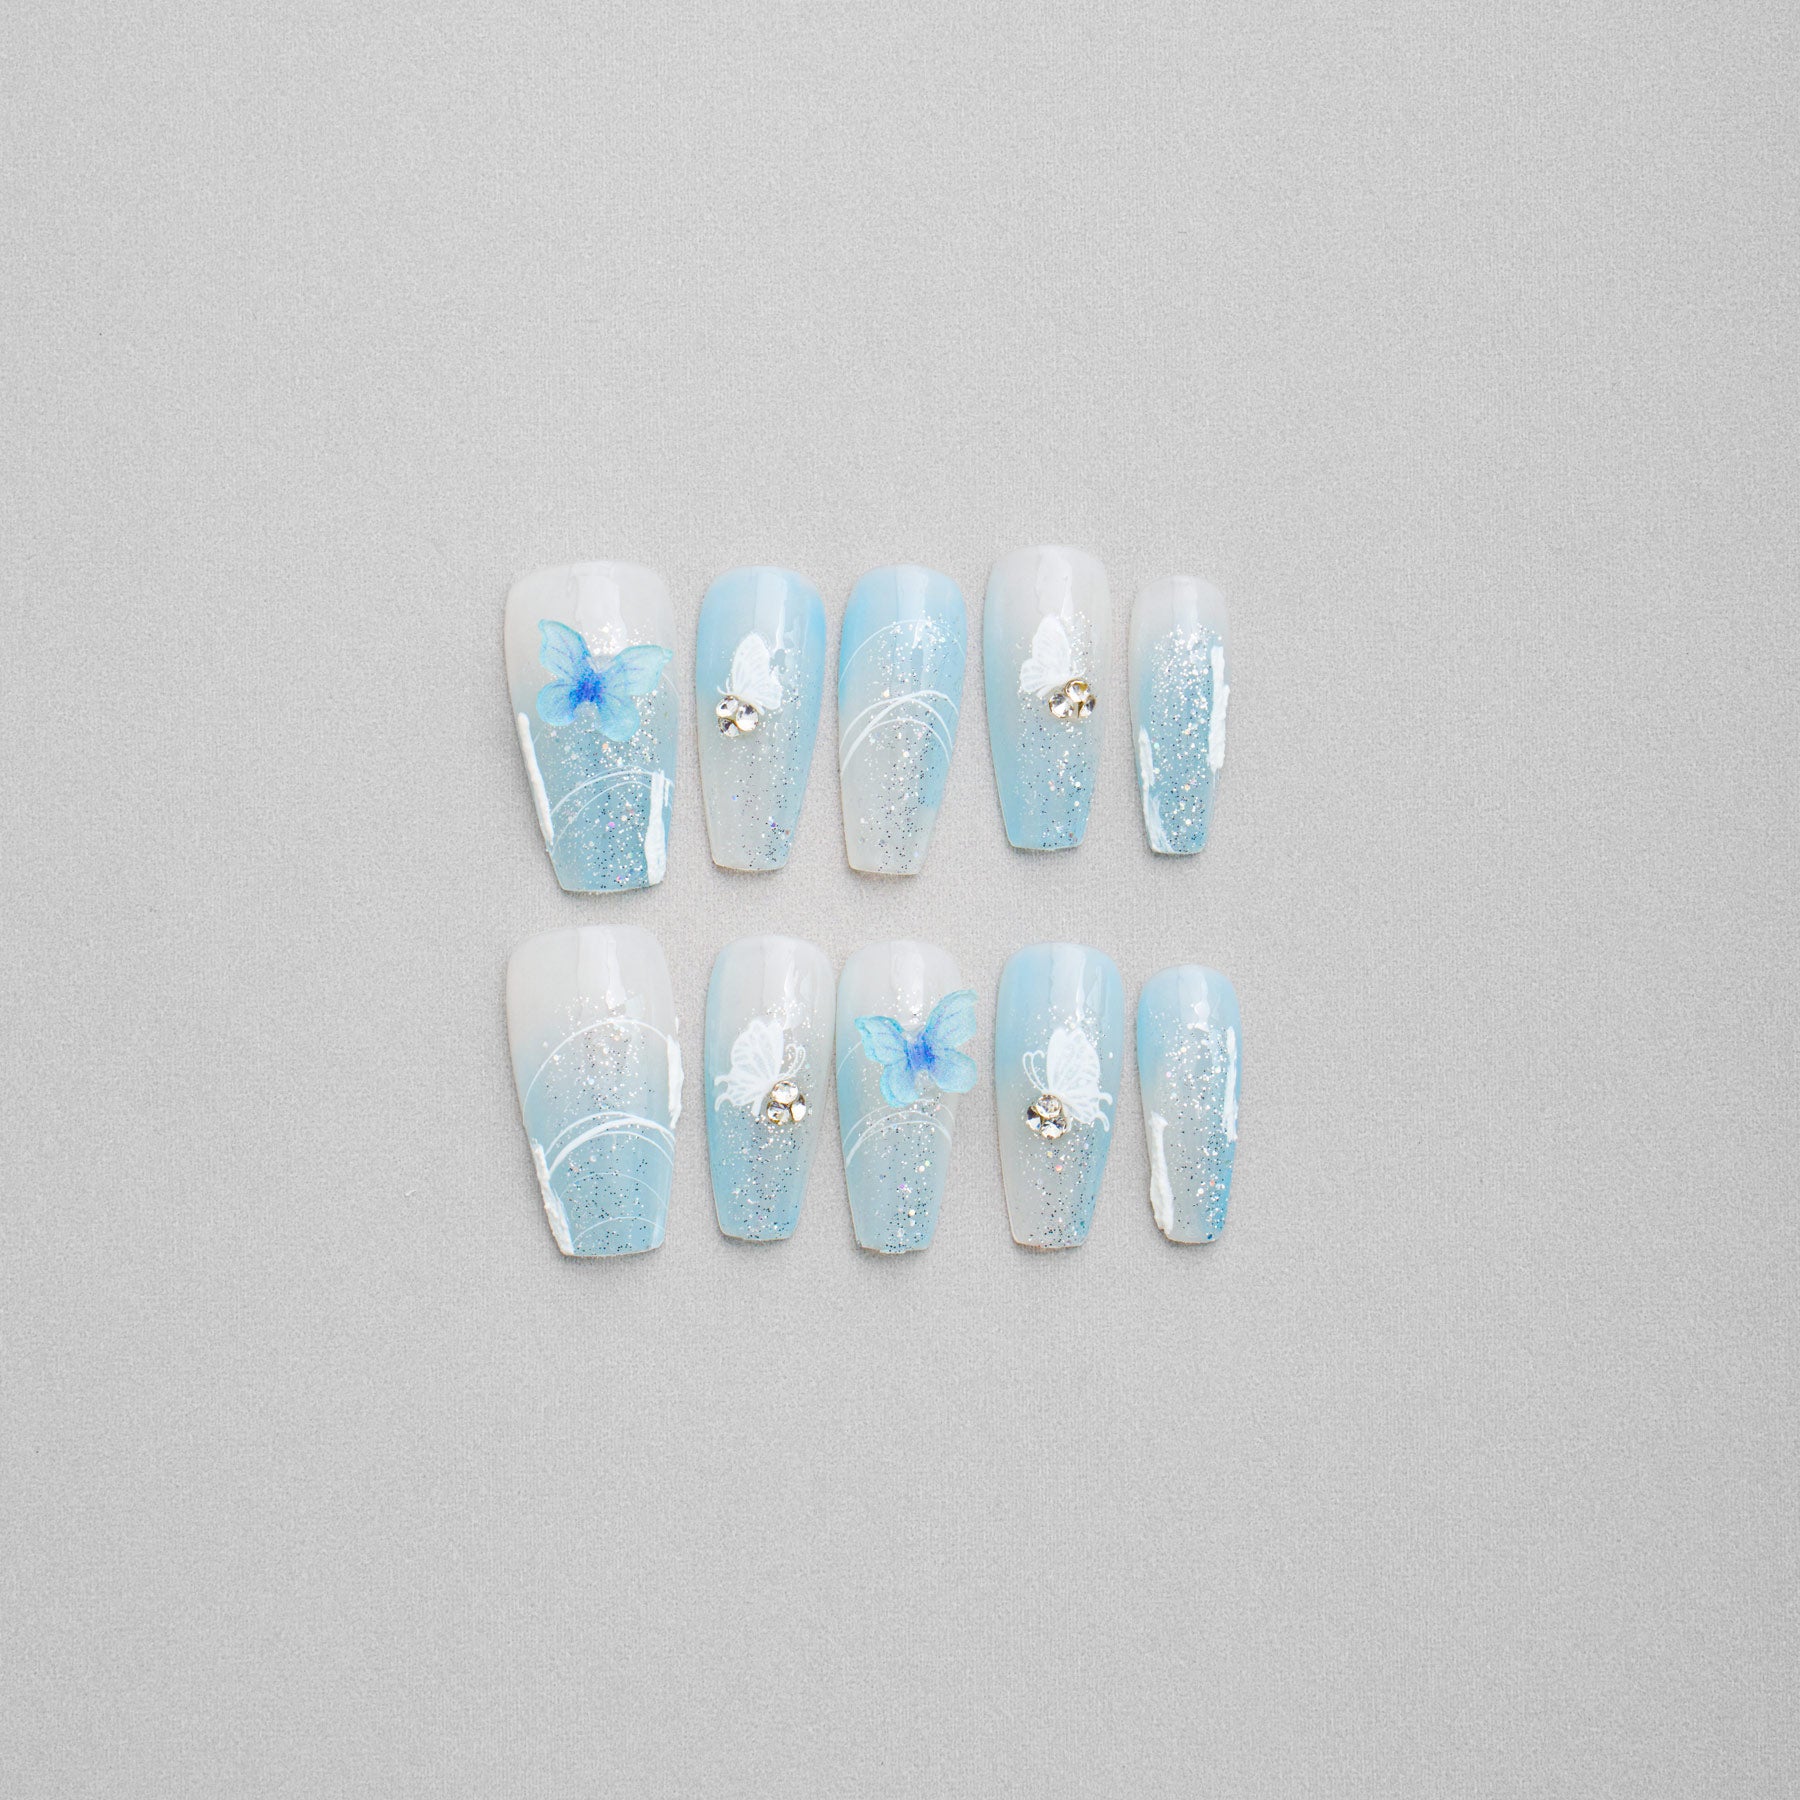
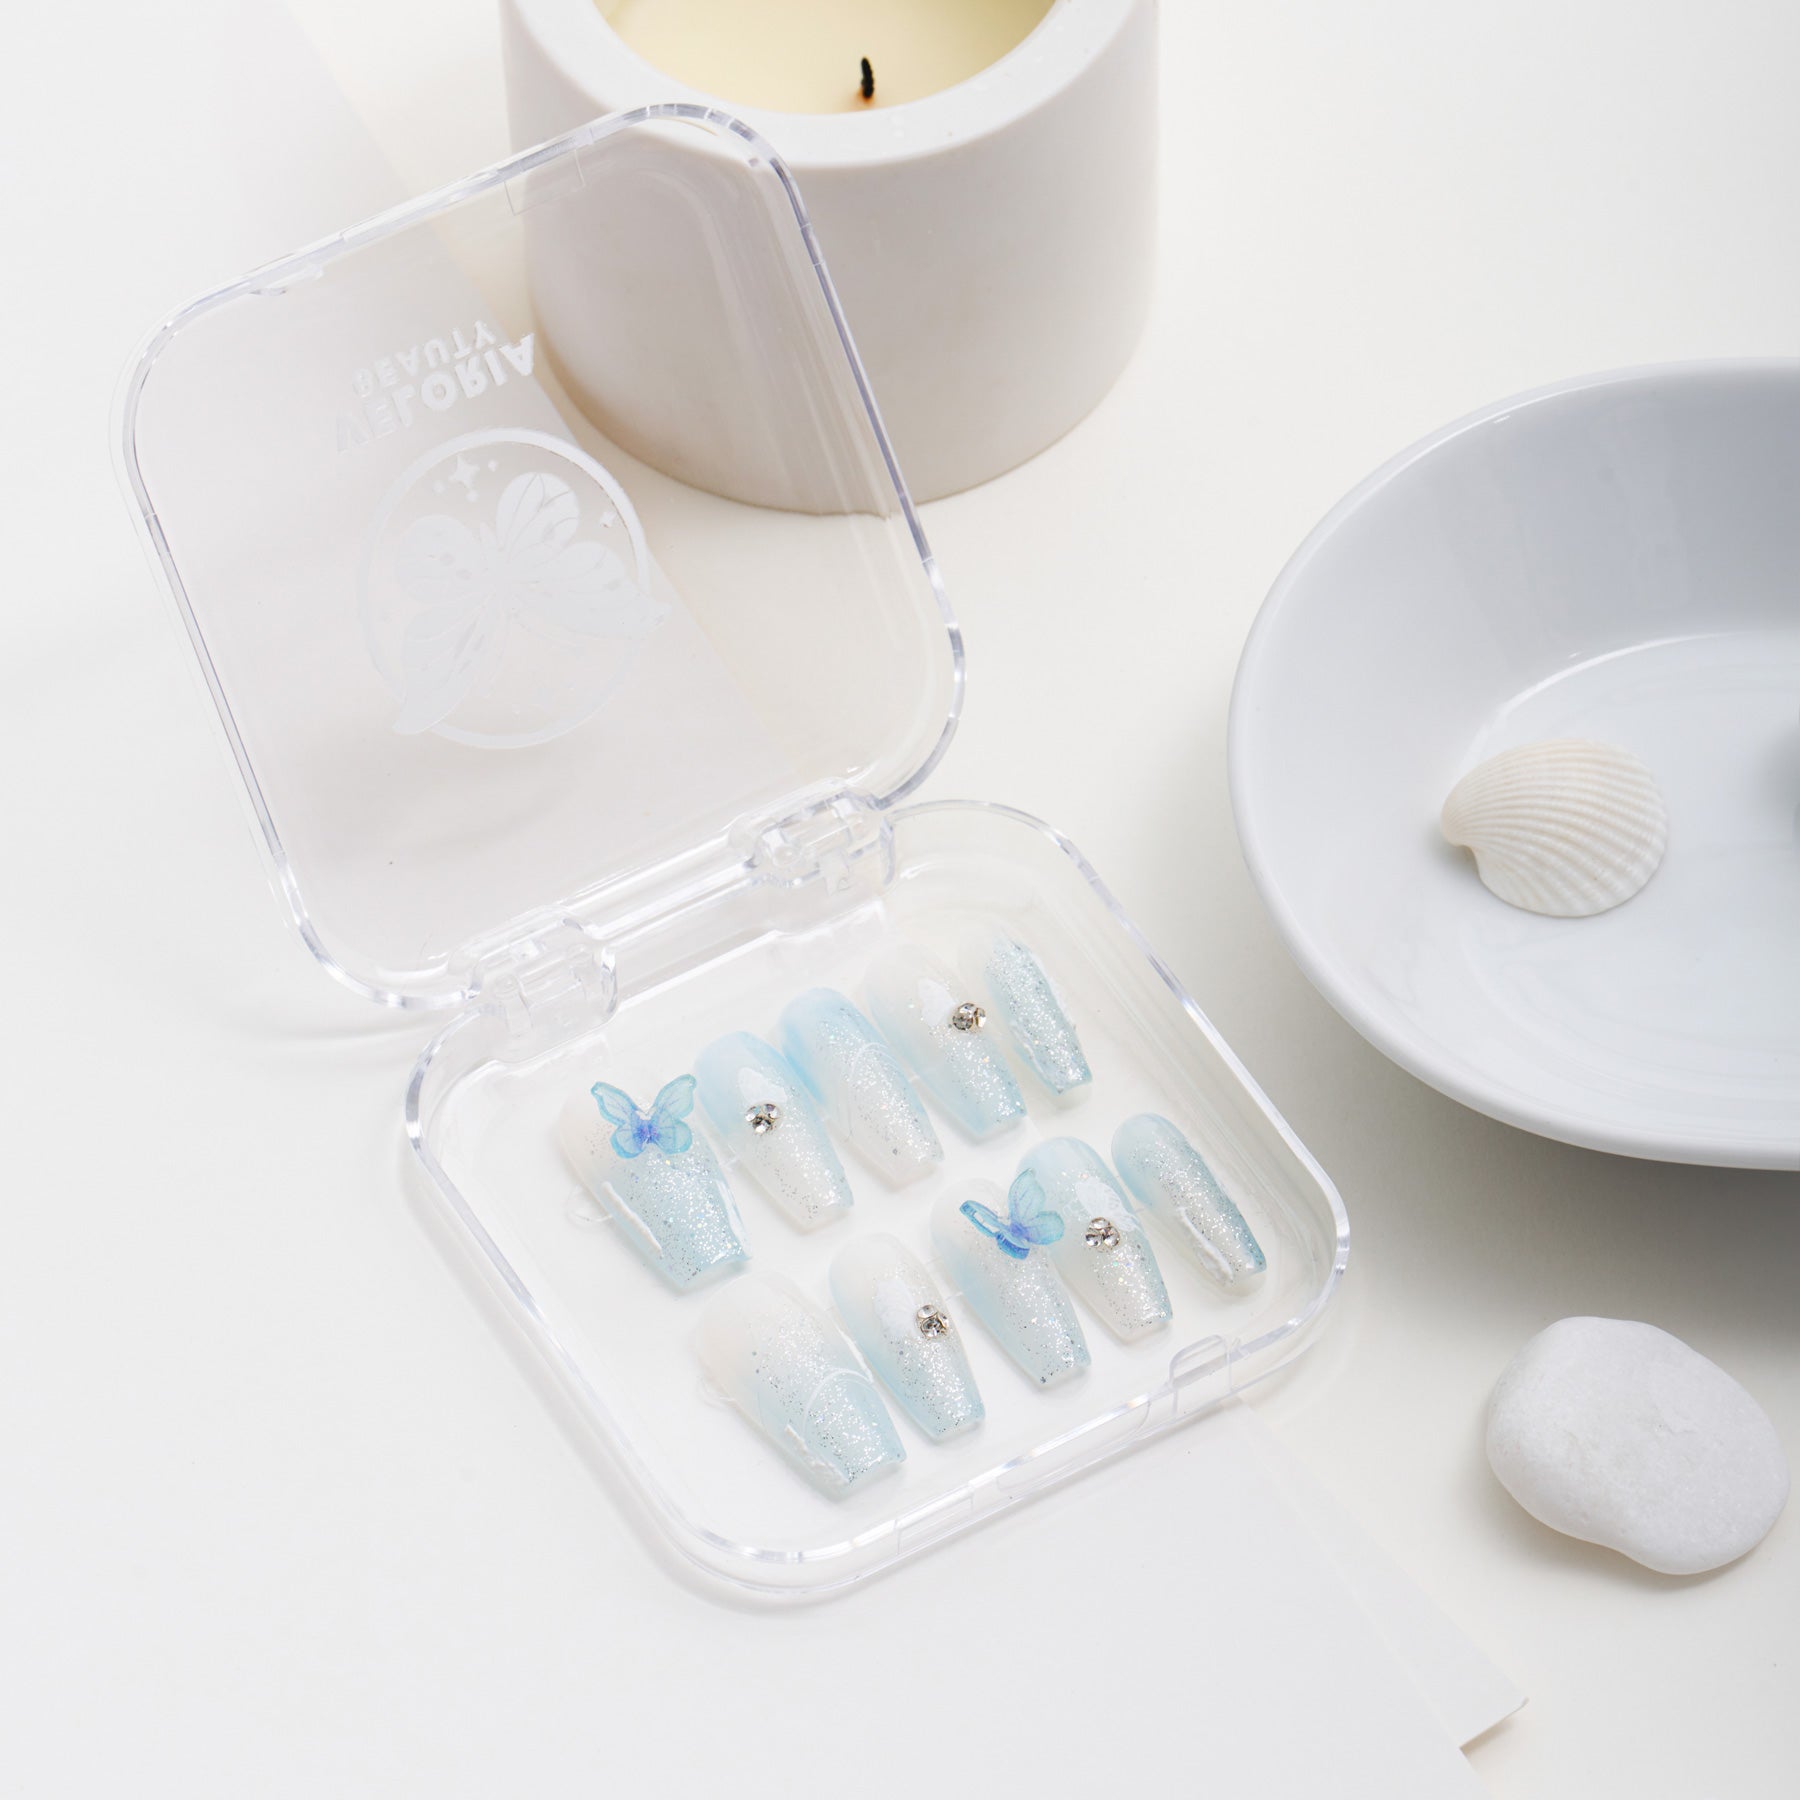
Transform your fingertips into an enchanting haven with our "Azure Butterfly Elegance" Handmade Press-On Nails. These blue butterfly nails feature sparkling blue hues, glistening rhinestones, and delicate butterfly accents that bring an ethereal beauty to your look. Designed in a trendy coffin shape, these nails offer a chic and sophisticated edge, perfect for any occasion.
*Please note that as our nails are handmade, the product you receive may vary slightly from the photo on our website.
The kit includes:
- 10 handmade nails
- Dual-sided buffer and file
- Cuticle stick
- Nail Adhesive Tabs
- Alcohol Prep Wipes
How To Apply:
Step One: Prep
Prepare your nails before applying the tips. Gently push back your cuticles using the plastic tool provided. Then, use the file provided in the box to buff your nails.
Step Two: Clean
Clean your natural nails with the alcohol wipe provided to remove any oils, or residue. Ensure they are clean and dry before proceeding.
Step Three: Warm
Before applying the adhesive stickers onto your nails, warm them up by gently rubbing them between your fingers or using a hair dryer on a low heat setting for a few seconds. This helps activate the adhesive for a stronger bond.
Stop Four: Stick
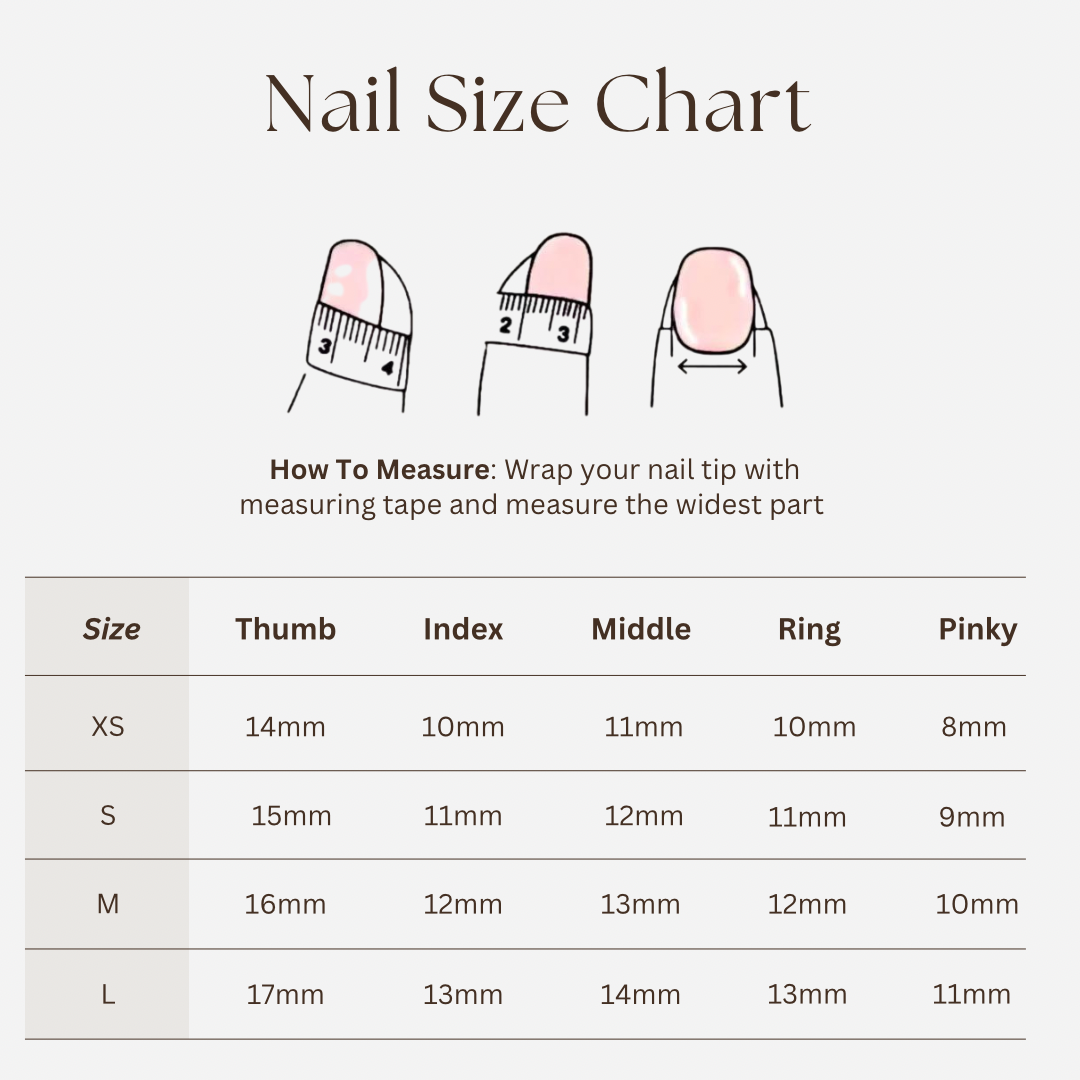
Select the sticky pad that best fits your nail size and carefully apply it onto your finger, ensuring it covers the entire nail surface. Locate the tab at the top of the pad and gently pull it backward to remove the backing.
Step Five: Press
Press the nail onto the sticky adhesive on your nail, aligning it carefully. Apply firm pressure for 30 seconds to eliminate any air bubbles and ensure a secure bond.
How To Remove
STEP ONE: SOAK
Begin by soaking your hands in a bowl of warm, soapy water for about 10-15 minutes. This helps to loosen the adhesive and soften the nails, making removal easier.
STEP TWO: GENTLY LIFT
After soaking, gently lift the edge of the press-on nail using a cuticle stick or an orange wood stick. Start at the sides or the base of the nail and carefully work your way around, lifting slowly to avoid damaging your natural nail. If the nail resists, soak it a bit longer and try again.
STEP THREE: REMOVE ADHESIVE FROM NAIL
Once the press-on nails are removed, there may be some adhesive left on the underside of the nails. Gently peel or scrape off the remaining adhesive using the cuticle stick. Be careful not to bend or damage the press-on nails during this process.
STEP FOUR: STORE FOR REUSE
After removing the adhesive, place the nails back in the acrylic case they came in for safe storage. This helps keep them organized and in good condition for future use.
STEP FIVE: REMOVE ADHESIVE RESIDUE FROM NATURAL NAILS
Use an alcohol wipe or a cotton pad soaked in nail polish remover to gently wipe away any remaining adhesive on your natural nails.
STEP SIX: MOISTURIZE
After all the adhesive is removed, wash your hands and apply cuticle oil or hand cream to moisturize your nails and cuticles. This helps to restore moisture and keep your nails healthy.
Choose options


Expert Tips for Flawless Press-On Nail Application
how to use
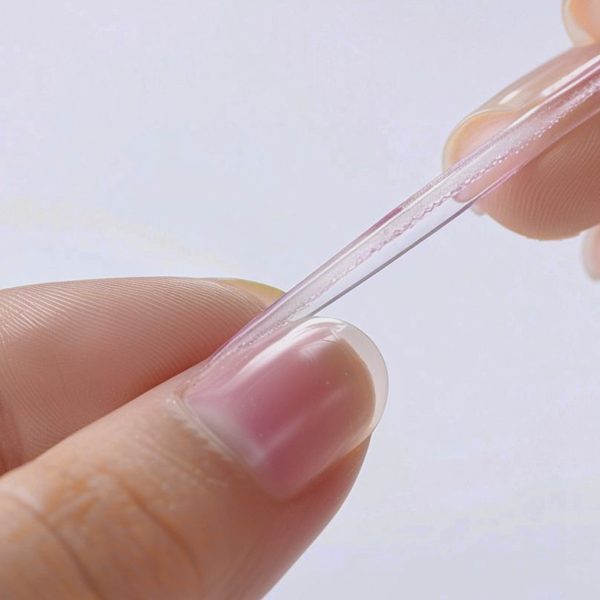
step one: prep
Prepare your nails before applying the tips. Gently push back your cuticles using the plastic tool provided. Then, use the file provided in the box to buff your nails.
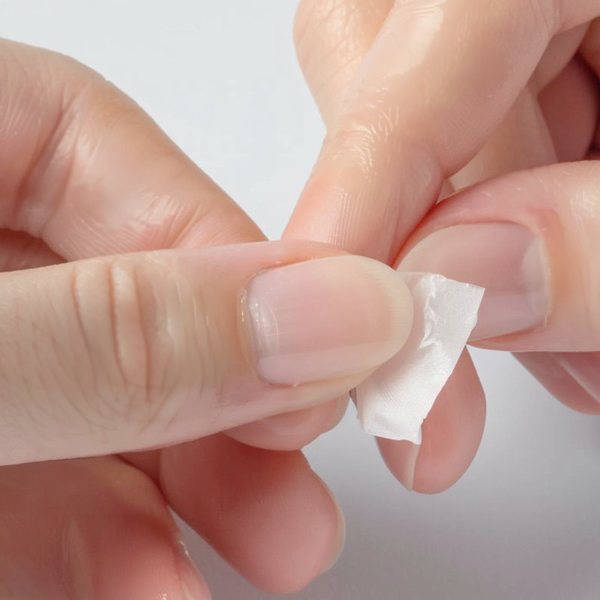
step two: clean
Clean your natural nails with the alcohol wipe provided to remove any oils, or residue. Ensure they are clean and dry before proceeding.
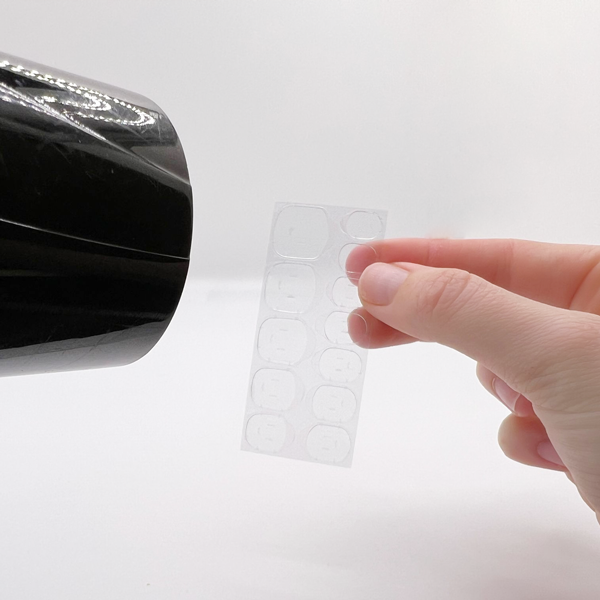
step three: WARM
Before applying the adhesive stickers onto your nails, warm them up by gently rubbing them between your fingers or using a hair dryer on a low heat setting for a few seconds. This helps activate the adhesive for a stronger bond.
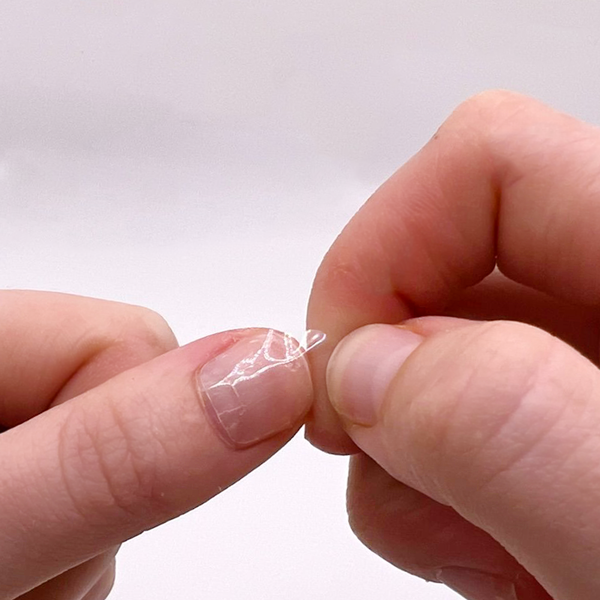
step four: STICK
Select the sticky pad that best fits your nail size and carefully apply it onto your finger, ensuring it covers the entire nail surface. Locate the tab at the top of the pad and gently pull it backward to remove the backing.
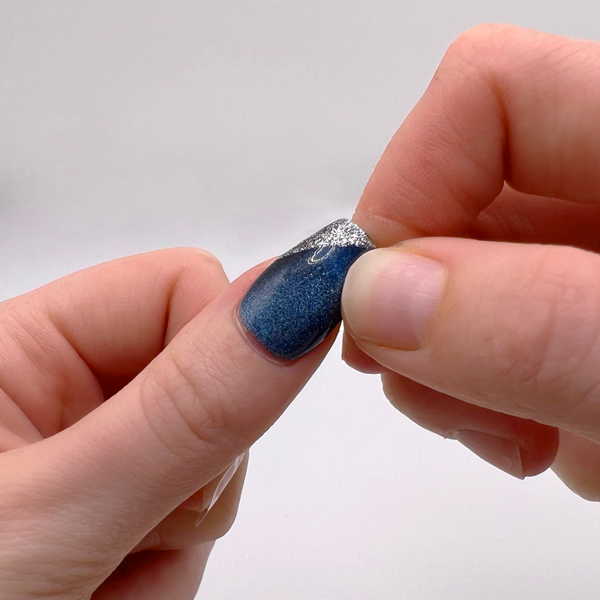
step five: press
Press the nail onto the sticky adhesive on your nail, aligning it carefully. Apply firm pressure for 30 seconds to eliminate any air bubbles and ensure a secure bond.
Pro Tip: For longer-lasting nails, avoid getting them wet for the first three hours after applying.
Unlock Your Beauty Bundle Now: Save More, Shine More!
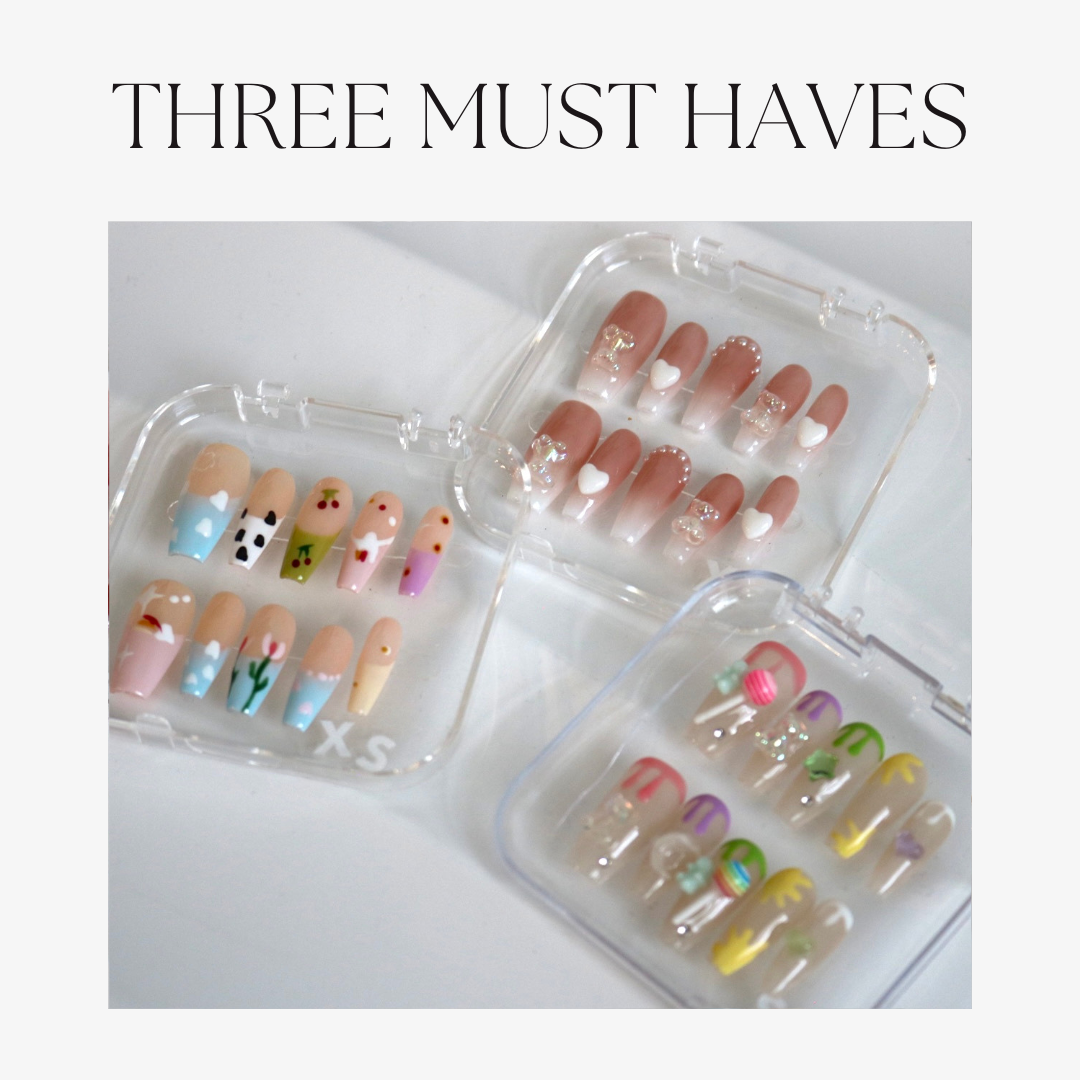
Elevate your style with the Three Must Haves Bundle. Pick any three press-on nails and enjoy a 10% discount. Perfect for those who love to switch up their look with elegance and ease.
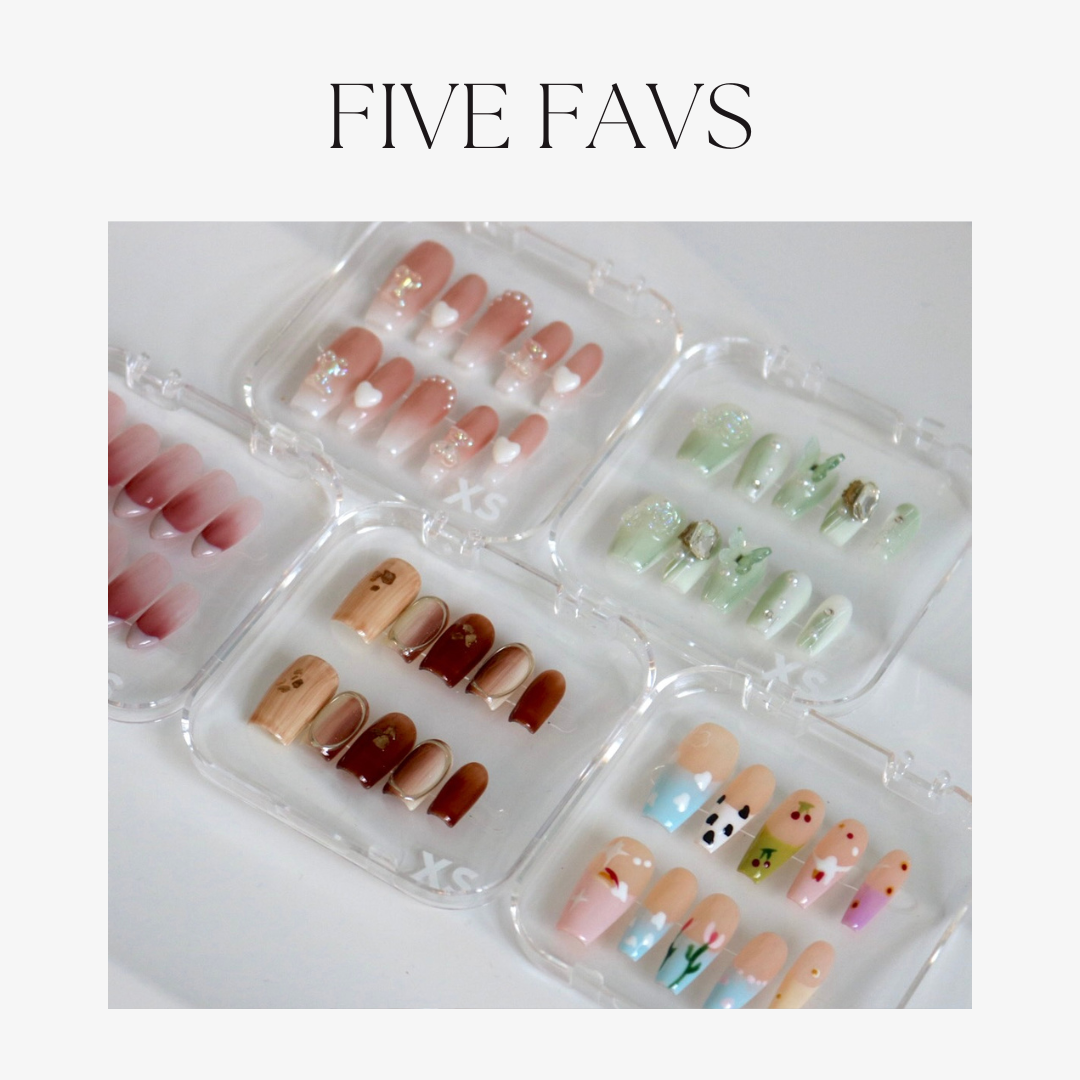
Define your beauty journey with the Five Faves Bundle. Choose five press-on nails for sophistication and versatility, enjoying a 15% discount. Perfect for adding grace to your every gesture.
