Expert Tips for Flawless Press-On Nail Application Every Time
Press-on nails have become a lifesaver for those who want a fabulous manicure without the hassle or expense of going to the salon. However, achieving a flawless look and ensuring their longevity can sometimes be a challenge. Fear not! With the right techniques and a little practice, you can achieve flawless press-on nail application that lasts every single time.
Step One: Prep - Prepare Your Nails
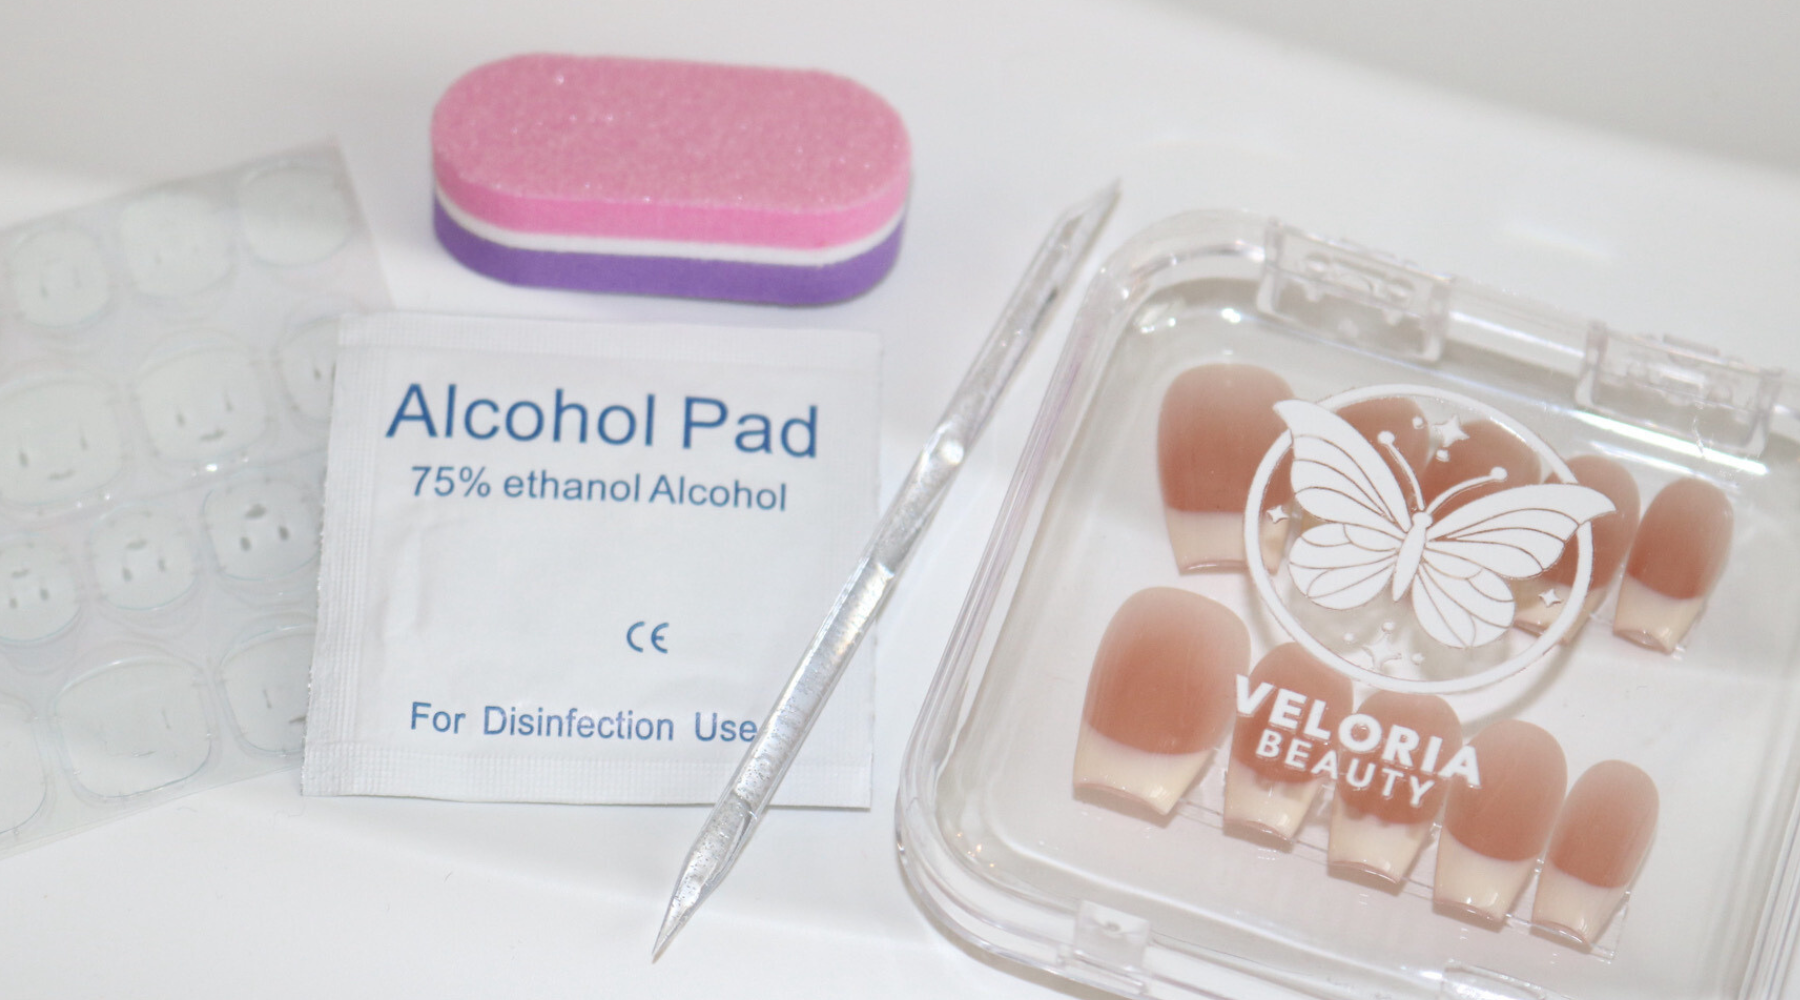
Before diving into the application process, it's crucial to prep your nails properly. Start by gently pushing back your cuticles using the plastic tool provided in your press-on nail kit. This step helps create a clean canvas for the press-on nails. Next, use the file provided in the box to buff your nails gently. This will smooth out any rough edges and create a surface for the press-on nails to adhere to seamlessly.

Step Two: Clean - Cleanse Your Natural Nails
To ensure maximum adhesion, it's essential to clean your natural nails thoroughly. Use the alcohol wipe provided in your kit to remove any oils, dirt, or residue from the surface of your nails. Pay close attention to the nail bed and the edges of your nails to ensure they are completely clean and dry before proceeding to the next step.

Step Three: Warm - Activate the Adhesive
Before applying the adhesive stickers onto your nails, it's beneficial to warm them up slightly. You can do this by gently rubbing the stickers between your fingers or using a hair dryer on a low heat setting for a few seconds. Warming up the stickers helps activate the adhesive, ensuring a stronger and longer-lasting bond once applied to your nails.

Step Four: Stick - Apply the Adhesive Stickers
Select the sticky pad from your kit that best fits the size of your nail. Align the sticker with your nail, ensuring it covers the entire nail surface from cuticle to tip. Press down firmly to secure the sticker in place, smoothing out any air bubbles or wrinkles. Carefully peel off the backing from the sticker, revealing the adhesive side.

Step Five: Press - Secure the Press-On Nails
Now it's time to apply the press-on nails onto the adhesive stickers. Carefully align the press-on nail with your natural nail, ensuring it sits flush and straight. Once positioned correctly, apply firm pressure to the nail for at least 30 seconds. This helps eliminate any air bubbles and ensures a secure bond between the press-on nail and your natural nail.

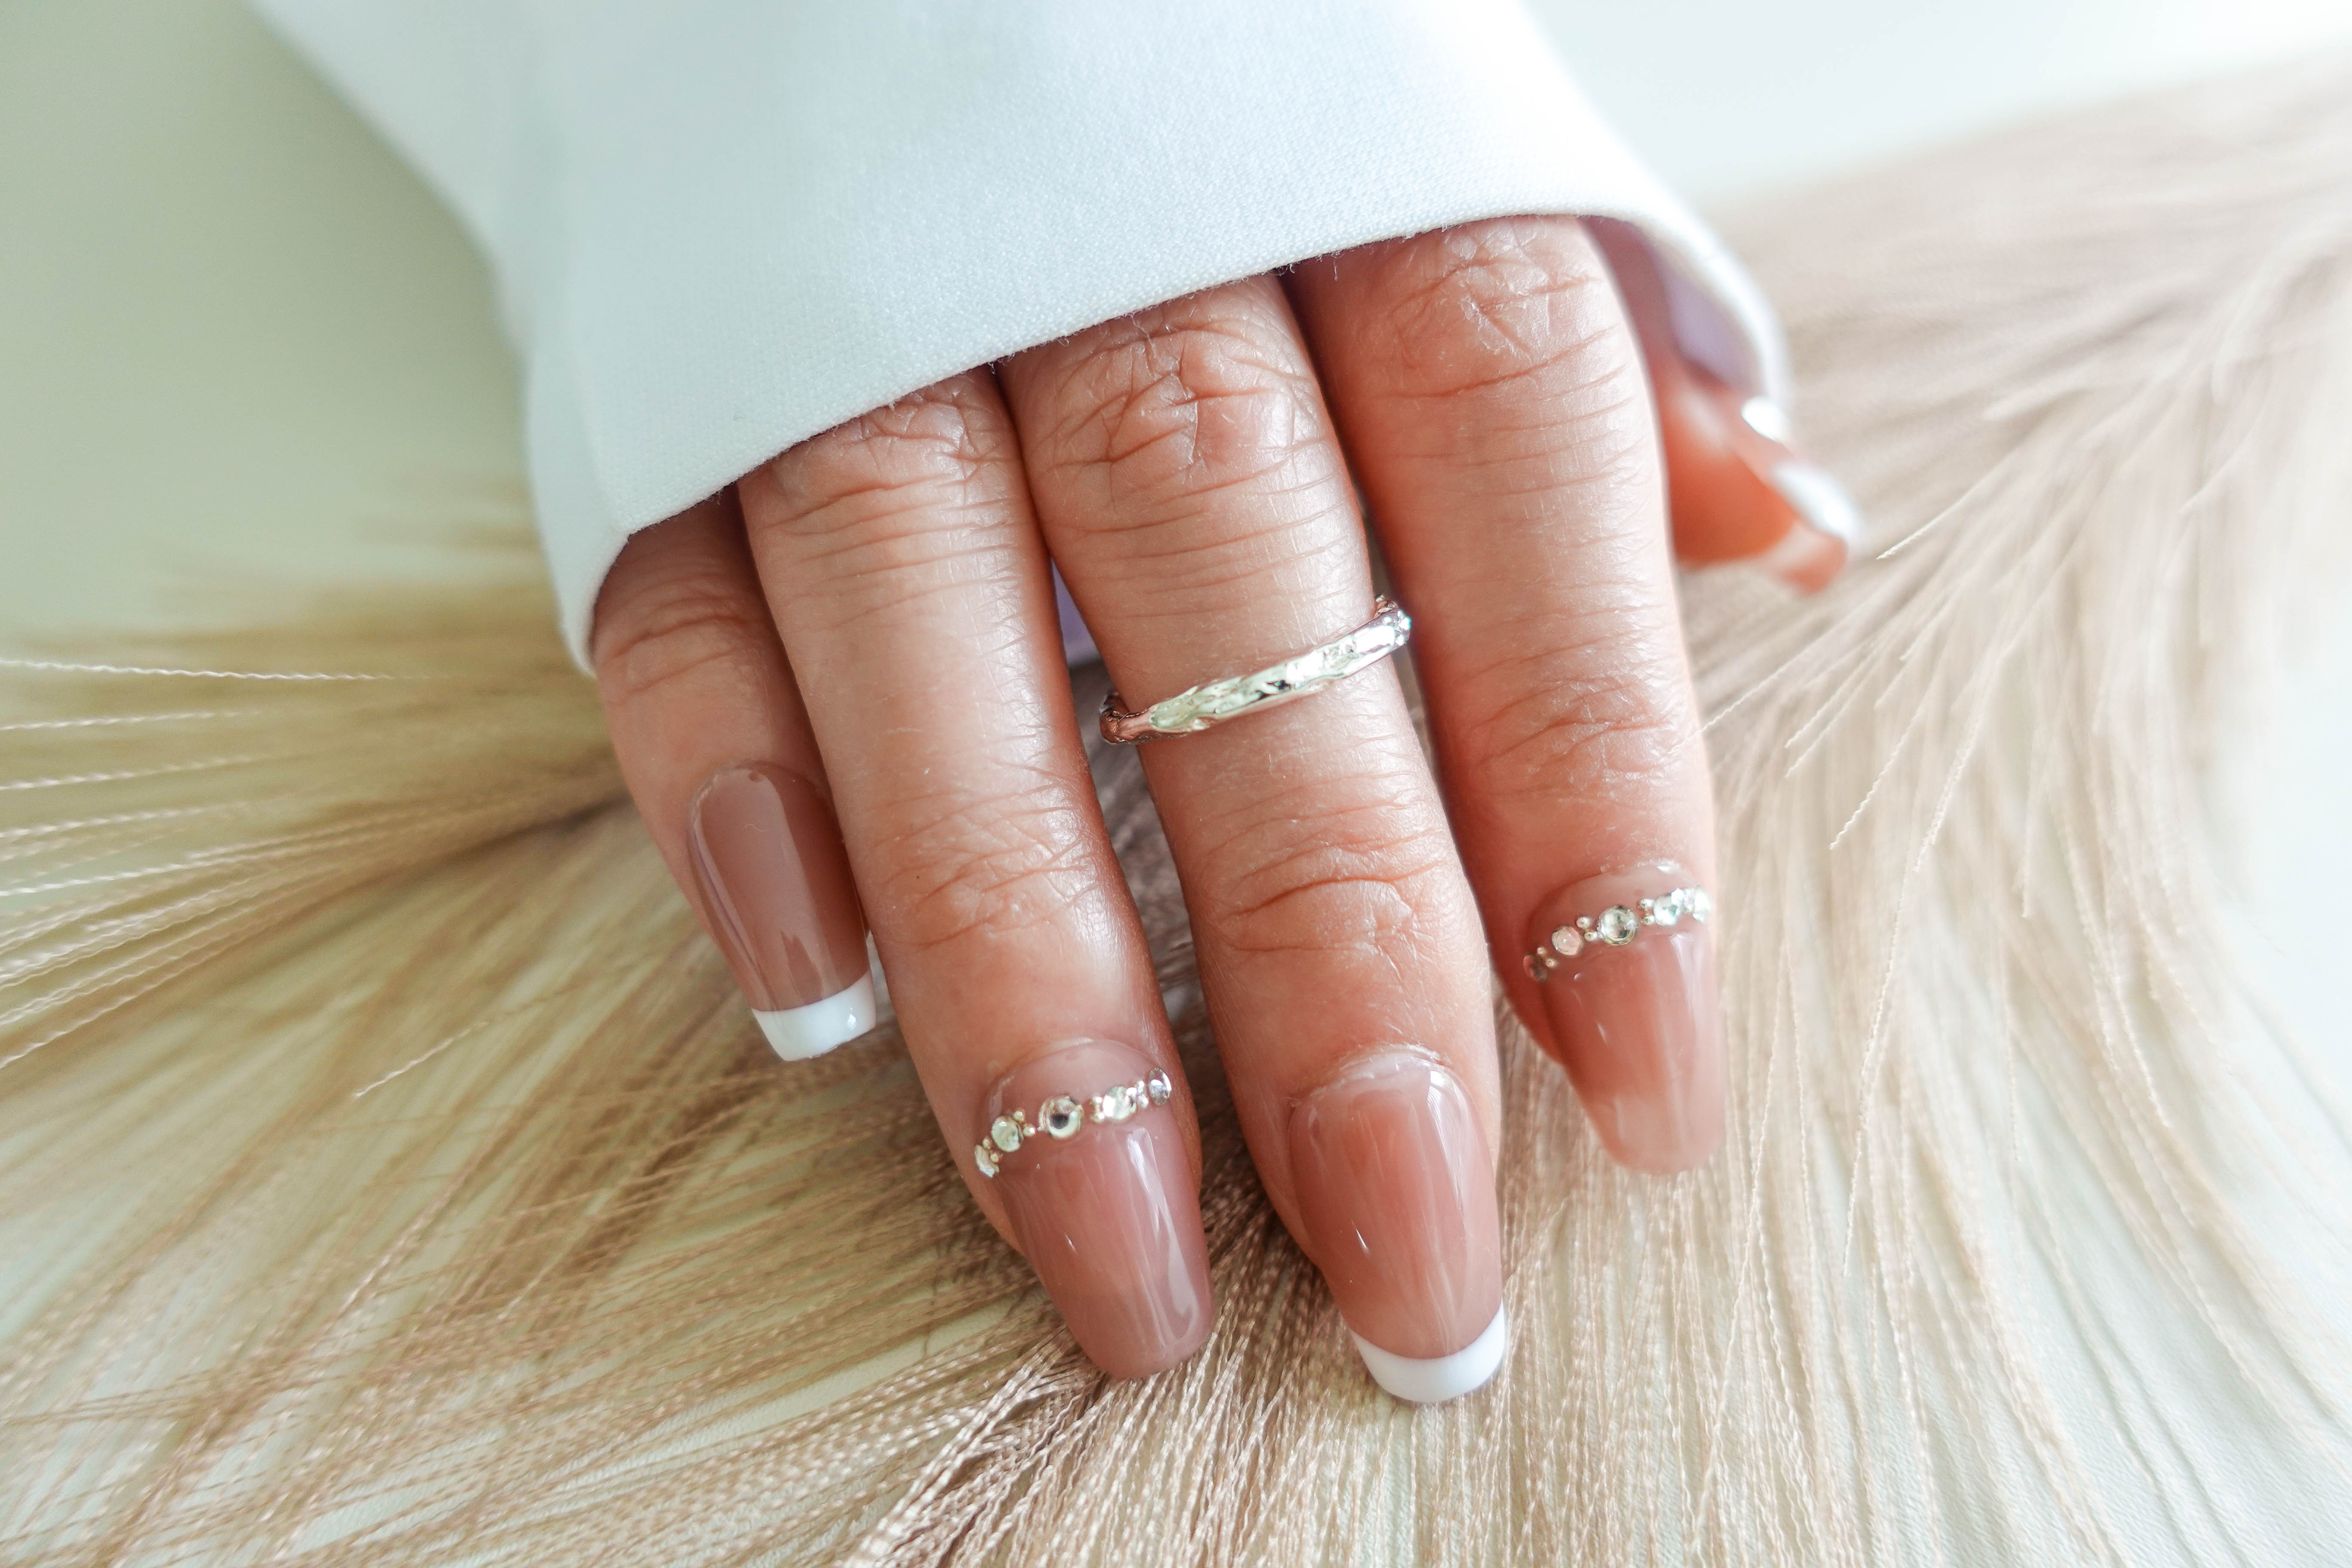
By following these expert tips and techniques, you can achieve flawless press-on nail application every time. With a little practice and attention to detail, you'll be rocking stunning nails that look and feel like they were done by a professional.
To ensure your nails last long and maintain their flawless appearance, here's an additional pro tip: For longer-lasting nails, avoid getting them wet for the first three hours after applying. This extra precaution helps the adhesive fully bond to your natural nails, ensuring a secure hold and preventing premature lifting or peeling.
By incorporating this simple tip into your nail care routine, you can extend the longevity of your press-on nails and enjoy beautiful, salon-worthy results for days to come.


Leave a comment
This site is protected by hCaptcha and the hCaptcha Privacy Policy and Terms of Service apply.